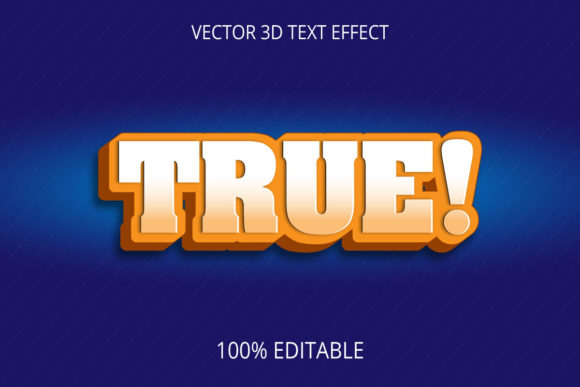
True 3D Text Effect Creative Design: From Concept to Practical Implementation
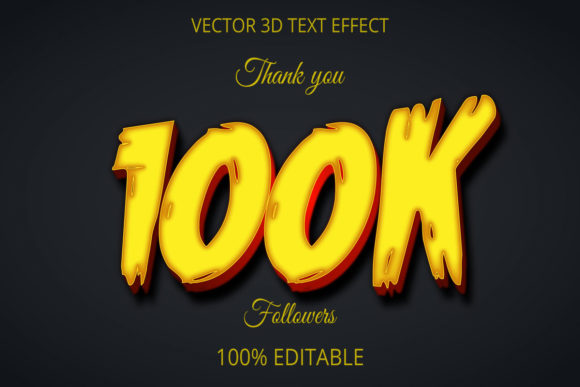
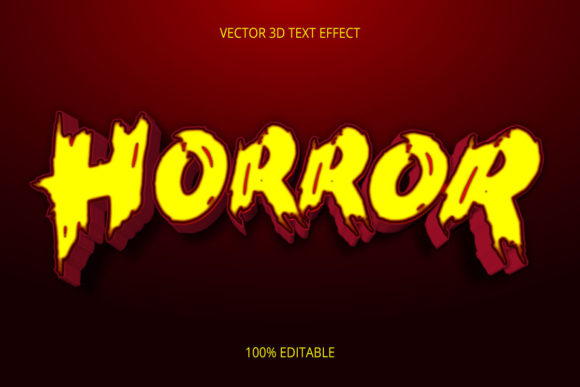
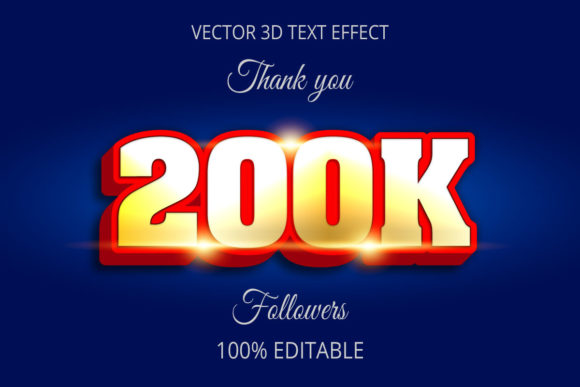
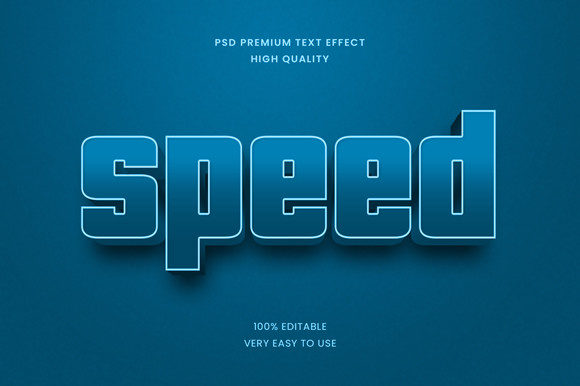
Typography has always been a cornerstone of visual communication. But when text steps off the page—literally—it demands attention in a way flat typography never can. True 3D Text Effect Creative Design refers to the process of generating dimensional letterforms that possess volume, depth, realistic lighting, and spatial presence. Unlike faux 3D effects that rely on simple drop shadows or extrusion, true 3D text involves modeling or rendering text as three-dimensional objects within a scene. This approach is not just about visual flair; it is a practical tool for branding, content creation, product visualization, and user interface design.
Where True 3D Text Effects Fit in the Broader Workflow
Understanding where true 3D text belongs in your process helps you use it intentionally rather than as an afterthought. It can serve as a primary design element or a supporting asset, depending on the project stage.
- Before the project – Use 3D text for mood boards, concept exploration, or early brand identity work. Seeing dimensional type early helps stakeholders visualize the final tone and direction before committing to complex layouts.
- During production – Integrate 3D text into composites, motion graphics, social media assets, or product mockups. It becomes a functional layer that interacts with lighting, camera angles, and environmental elements.
- After launch – Repurpose 3D text assets for ongoing marketing materials, presentation decks, or template libraries. A well-built true 3D text asset can be tweaked and reused across campaigns without rebuilding from scratch.
How True 3D Text Interacts with Tools and Methods
True 3D Text Effect Creative Design does not exist in isolation. It connects with a range of software, platforms, and creative decisions. Understanding these interactions helps you build efficient workflows rather than fighting tool limitations.
Software and Platform Choices
Most designers work inside dedicated 3D applications like Blender, Cinema 4D, or Maya, or leverage 3D capabilities built into tools like Adobe After Effects, Photoshop, or Figma (via plugins). The choice depends on whether you need static renders, animated sequences, or real-time display. For example, a freelancer preparing a static logo treatment might use Photoshop’s 3D layer, while a motion designer animating a title sequence will prefer Cinema 4D for its shading and rigging control.
Integration with Other Assets
True 3D text rarely stands alone. It interacts with:
- Lighting systems – The text must respond to scene lights. This means thinking about key lights, fill lights, and rim lights to define edges and depth.
- Materials and textures – Metal, glass, neon, or matte finishes change how the text reads. Choose materials based on brand tone and environment.
- Camera motion – If the text is part of a moving composition, you must consider focal length, depth of field, and parallax.
- Typography parameters – Not every font works well in 3D. Thinner strokes can vanish under extrusion, while heavy slab serifs may look blocky. Test fonts early.
Practical Implementation Tips for Real Workflows
The difference between a gimmicky 3D text effect and a professional one often comes down to execution details. Here are concrete tips drawn from project experience.
Preparation and Setup
- Start with clean vector paths. Importing text as editable curves gives you the most control over extrusion and beveling.
- Set up a consistent unit scale. If your 3D text will appear alongside real-world objects or product shots, match the scale from the beginning.
- Use reference images for lighting. Even a simple HDR environment map can elevate a basic extrusion into something that feels physically present.
Usability and Organization
- Name your text layers and materials clearly. When you revisit a file months later, “Headline_gold_bevel” is infinitely more useful than “Layer_12.”
- Group assets by use case. Maintain separate files for logos, headlines, and decorative type so you can grab the right asset without digging through renders.
- Save preset materials. If you frequently use glass or chrome text, store those material setups as presets. This cuts setup time in half for recurring projects.
Efficiency in Production
True 3D text rendering can be resource-intensive. Optimize by using lower subdivision levels during layout and camera composition, then increase quality only for final renders. Use render passes—ambient occlusion, specular, depth—to give yourself flexibility in compositing. This is especially useful when working with tight deadlines or limited hardware.
Workflow Examples Across Different Roles
Different professionals will integrate True 3D Text Effect Creative Design into their routines in distinct ways. Here are three scenarios that show practical application.
For a Marketing Team Launching a Product
A brand manager needs a hero image for a landing page. Instead of commissioning a photographer for custom signage, the team creates true 3D text using the product name. They extrude the text with a brushed metal texture to match the product’s design language, place it in a simple studio lighting setup, and render a clean PNG. The text integrates with the page layout in hours rather than days. Later, the same 3D text asset is used in an animated Instagram story by rotating the camera slightly—no new design work needed.
For a Freelance Motion Designer
A motion designer working on an event intro video needs title text that feels immersive. They build the text in Cinema 4D, apply a neon glass shader, and animate a slow camera dolly around the letters. The key workflow decision is building the text as a single editable mesh so they can deform it with a noise modifier in later frames. The rendered sequence exports with an alpha channel, allowing the video editing team to composite it over the background footage with full control over blending and color correction.
For an Educator Creating Learning Materials
An online course creator wants to make video titles that look professional without hiring a designer. They use a simpler approach: a browser-based 3D text tool combined with a transparent background export. By saving three different color variations of the same 3D text, they create a consistent look across an entire course series. The text files are stored in a shared folder so they can be updated if the course branding changes later. The focus is on repeatability and low maintenance, not cinematic complexity.
Key Factors for Long-Term Success with 3D Text
Creating a true 3D text effect once is relatively straightforward. Building a system to use it repeatedly, across projects, with consistent quality, requires attention to a few broader factors.
Compatibility Across Deliverables
Consider where the final 3D text will live. A static print ad may only need a high-resolution PNG or TIFF. A website hero section might need a lightweight WebM or a compressed JPEG with a solid background. A presentation deck usually works best with an SVG or a transparent PNG that doesn’t break when slides are shared. Design your text with the lowest common denominator in mind, then create higher-resolution versions only for the channels that need them.
Consistency in Style
If you plan to use 3D text across multiple pages, videos, or social posts, establish a style guide. Document the exact material settings, bevel depth, lighting setup, and color palette. Without this, each new project may drift in appearance, and your brand looks disjointed. A one-page reference with screenshots of the 3D viewport and the final render saves hours of trial and error later.
Quality Control in Production
Always check how the text reads at small sizes. A beautifully lit 3D word can become an unreadable blob when scaled down. Render test versions at the actual output size, not at full resolution. Similarly, check for artifacts around thin strokes or tight letter spacing. Some 3D engines handle kerning differently, so manually test kerning pairs in the 3D view before rendering final assets.
Longevity of Assets
Software versions change, plugins get deprecated, and file formats evolve. For long-term reuse, save a “master” version of your 3D text in the most standard format possible. For instance, saving an OBJ or FBX of the extruded text preserves the geometry even if the native application file becomes obsolete. Keep the original vector text file alongside the 3D scene file so you can regenerate the text if the client requests a font change years later.
Integrating True 3D Text into Your Routine
The most practical approach is to start small. Choose one recurring use case—video titles, social media headers, or presentation covers—and build a single true 3D text asset for that purpose. Test it in your actual workflow, note where friction occurs, and adjust your setup accordingly. Over time, you’ll develop a personal library of materials, lighting presets, and export settings that make each subsequent project faster than the last.
Remember that true 3D text does not require a massive render farm or a deep background in computer graphics. Many modern tools have simplified the process to the point where a freelancer or small business owner can produce credible dimensional typography in an afternoon. The value comes not from the wow factor alone but from the ability to reuse, adapt, and integrate that typography across different channels without reinventing the process each time.
Whether you are animating a conference title, branding a product launch, or simply adding depth to a blog header, the same principles apply: plan for reuse, test at target sizes, document your settings, and choose tools that fit your actual delivery needs. True 3D Text Effect Creative Design becomes a reliable part of your toolkit when you treat it as a repeatable process rather than a one-off effect.